
Whether you’re learning Photoshop, restoring treasured family photographs or simply trying to understand photo editing terminology, this A–Z guide explains the industry’s most common terms in plain English. Along the way, we’ll also recommend carefully selected software, tools and equipment that we believe offer genuine value to photographers, photo editors and anyone looking to improve their editing skills.
Some you may be familiar with, others you may not be.
A is for Professional Artist Monitors
One of the most overlooked pieces of photo editing equipment is the monitor you’re looking at every day. Even the best editing software can’t compensate for a screen that displays inaccurate colours or poor contrast.
Professional photo retouchers rely on colour-accurate monitors to ensure skin tones look natural, whites remain neutral and every subtle adjustment appears exactly as intended. This is especially important when restoring treasured family photographs or preparing images for print.
Digital Touch Recommends
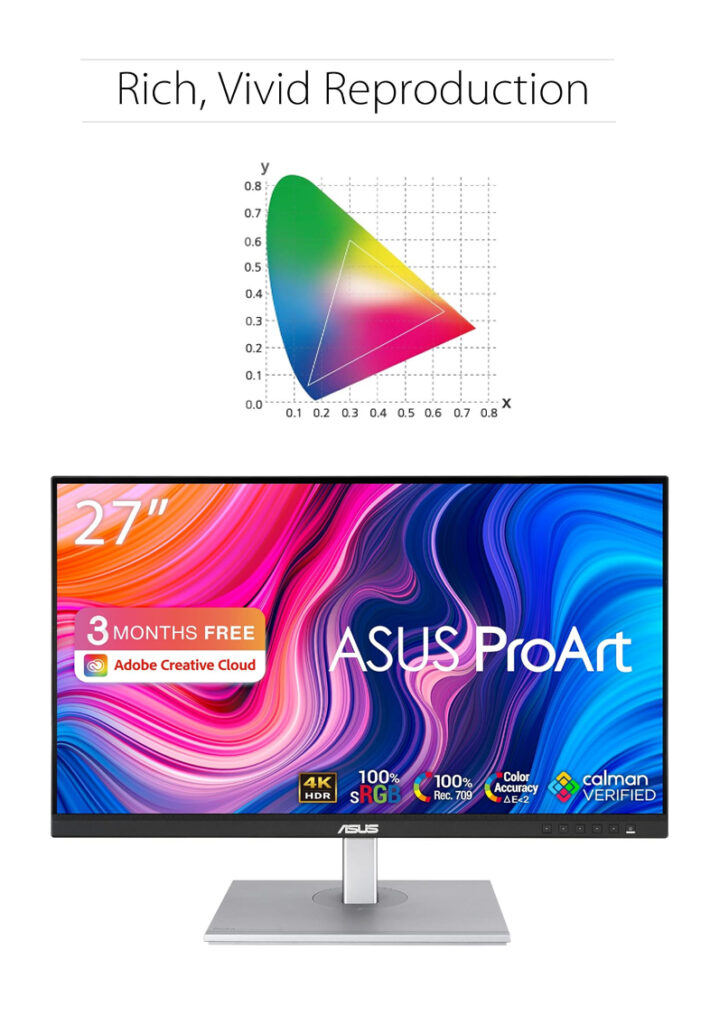
If you’re looking to upgrade your editing setup, the ASUS ProArt PA279CV Professional Monitor is an excellent choice for photographers, designers and photo retouchers.
Why we like it:
✔ Factory colour calibrated for outstanding accuracy
✔ Crisp 27-inch 4K UHD display
✔ Excellent colour reproduction (100% sRGB)
✔ USB-C connectivity
✔ Ergonomic stand with height, tilt and swivel adjustment
✔ Ideal for Photoshop, Lightroom and other professional editing software
A colour-accurate monitor won’t automatically make you a better editor, but it does ensure you’re making editing decisions based on colours you can trust.
View the ASUS ProArt PA279CV and today’s latest price.
Related terms: Colour Correction • Calibration • Adobe Photoshop • Lightroom • RGB Colour Space
B is for Blemish Removal
Blemish removal is one of the most common forms of photo retouching. It involves carefully removing temporary imperfections such as spots, scratches, dust, bruises or skin blemishes while preserving the person’s natural appearance. The key word here is temporary. Professional retouchers generally remove things that weren’t intended to be permanent, rather than changing someone’s natural features. When carried out well, blemish removal should never be obvious. The goal is to produce a natural-looking photograph that simply shows the subject at their best.
Related terms: Healing Brush • Clone Stamp • Beauty Retouching • Skin Retouching
C is for Colour Calibration
Have you ever edited a photograph on your computer, only to discover it looks completely different on another screen or when it’s printed? That’s why colour calibration is so important. A colour calibration device measures your monitor and creates an accurate colour profile, ensuring that the colours you see on screen are as true to life as possible. This is particularly important for photographers, photo retouchers and anyone restoring treasured family photographs where colour accuracy really matters.
Digital Touch Recommends
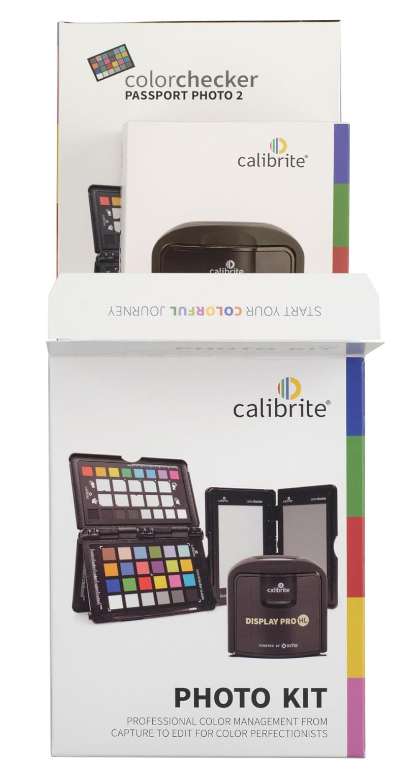
If you’re serious about photography and photo editing, the Calibrite Photo Kit is one of the best investments you can make. It combines the Display Pro HL for accurate monitor calibration with the ColorChecker Passport Photo 2, allowing you to achieve consistent colours from camera to screen.
Why we like it:
✔ Professional monitor calibration
✔ Camera colour profiling with ColorChecker Passport
✔ Accurate, consistent colour from capture to editing
✔ Ideal for photographers, designers and professional photo retouchers
✔ Compatible with Windows and Mac
Whether you’re restoring old family photographs, editing wedding images or preparing photographs for print, the Calibrite Photo Kit helps ensure every colour decision you make is based on accuracy rather than guesswork.
View the Calibrite Photo Kit and today’s latest price.
See also: ASUS ProArt Monitor • Colour Correction • Adobe Photoshop • Lightroom • RGB Colour Space
D is for DPI (Dots Per Inch)
DPI (Dots Per Inch) measures how much detail a printed photograph contains. Higher DPI produces sharper prints, but simply increasing the DPI of a low-quality image won’t magically improve it. For most professional photo printing, 300 DPI is considered the standard.
Did you know? DPI relates to printing, while PPI (Pixels Per Inch) refers to the resolution of digital screens.
E is for Exposure
Exposure refers to how light or dark a photograph appears. An underexposed image looks too dark, while an overexposed image loses detail in the brightest areas. Most photo editing software allows you to adjust exposure after a photograph has been taken, helping recover shadow detail, brighten images and create a more balanced result.
Did you know? Small exposure adjustments often produce a more natural result than dramatically increasing brightness.
F is for Feathering
Feathering softens the edges of a selection, creating a smoother transition between edited and unedited areas of a photograph. It helps produce natural-looking results when replacing backgrounds, blending images or making local adjustments.
Did you know? Applying too much feathering can make an edit look blurry, while too little can leave obvious hard edges.
G is for Graphics Tablets
A graphics tablet is one of the most useful tools a professional photo retoucher can own. Unlike a standard mouse, it allows you to edit photographs using a pressure-sensitive pen, giving you far greater precision and control over your work. Whether you’re restoring old family photographs, removing blemishes, making detailed selections or carrying out intricate wedding photo retouching, a graphics tablet makes editing feel much more natural and accurate.
After more than 20 years of professional photo retouching, I would always recommend learning with a graphics tablet rather than relying solely on a mouse. It can dramatically improve both your accuracy and your editing speed.
Digital Touch Recommends
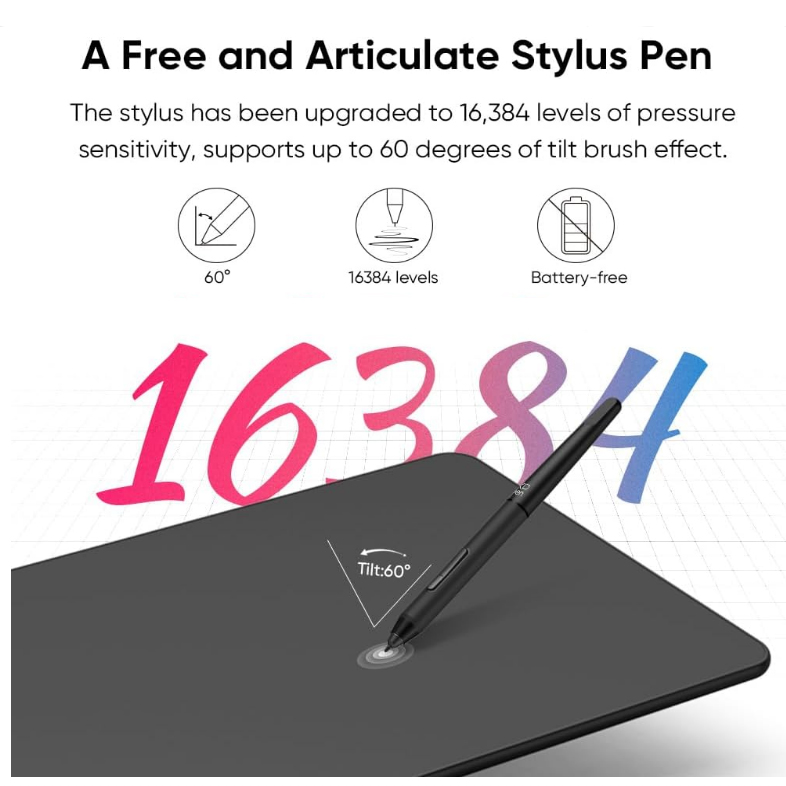
If you’re looking for an affordable graphics tablet, the XPPen Deco 01 V3 is an excellent choice.
Why we like it:
✔ Large 10 × 6.25-inch working area
✔ 16,384 levels of pen pressure sensitivity
✔ Eight programmable shortcut keys
✔ Compatible with Windows, Mac and Android
✔ Works perfectly with Adobe Photoshop, Lightroom and many other popular photo editing programs
Whether you’re just starting out or looking to improve your editing workflow, the XPPen Deco 01 V3 offers excellent value for money.
Check today’s price and customer reviews on Amazon.
Related terms: Photoshop • Adjustment Layers • Clone Stamp • Selection Tool
H is for Healing Brush
The Healing Brush is a popular photo editing tool used to remove blemishes, dust, scratches and other unwanted imperfections while blending the repaired area naturally with the surrounding image. Unlike the Clone Stamp tool, the Healing Brush automatically matches the texture, lighting and colour of the surrounding pixels, making edits appear almost invisible.
Did you know? The Healing Brush is one of the most commonly used tools for portrait retouching and photo restoration because it produces natural-looking results with minimal effort.
I is for Image Resolution
Image resolution refers to the amount of detail contained within a digital photograph. Generally speaking, the more pixels an image contains, the higher its resolution and the better it will look when enlarged or printed. High-resolution images are ideal for professional printing and photo restoration, while lower-resolution images are better suited to websites and social media.
Did you know? Increasing the size of a low-resolution image won’t add extra detail—it simply makes the existing pixels larger.
J is for JPEG
JPEG (or JPG) is one of the most widely used image file formats. It creates smaller file sizes by compressing image data, making photographs easier to store, share and upload online. While JPEG files are ideal for everyday use, each time they’re heavily edited and saved they can lose a small amount of image quality. For important editing work, photographers often prefer to work from RAW files whenever possible.
Did you know? The letters “JPG” and “JPEG” refer to exactly the same file format.
K is for Keyboard Shortcuts
Keyboard shortcuts are key combinations that allow you to perform common photo editing tasks much faster than using menus. Learning just a handful of shortcuts can significantly speed up your workflow and make editing far more efficient. Popular shortcuts include Ctrl + Z (Undo), Ctrl + C (Copy), Ctrl + V (Paste) and Ctrl + S (Save).
Did you know? Professional photo retouchers rely on keyboard shortcuts every day, often saving hours over the course of a large editing project.
L is for Layers
Layers allow you to edit different parts of a photograph independently without permanently changing the original image. Think of them as transparent sheets stacked on top of one another, with each layer containing a different element of your edit.
Using layers gives you greater flexibility, making it easy to adjust, hide or remove changes at any stage of the editing process.
Did you know? Layers are one of the reasons Adobe Photoshop is considered the industry standard for professional photo editing.
M is for Masking
Masking is a photo editing technique that allows you to hide or reveal parts of an image without permanently deleting them. It gives you complete control over where an edit is applied, making it one of the most powerful tools in professional photo retouching. Masks are commonly used for replacing backgrounds, adjusting skies, selective colour corrections and blending multiple photographs together.
Did you know? Professional photo retouchers often use masks instead of erasers because they allow edits to be changed or reversed at any time.
N is for Noise Reduction
Noise Reduction is the process of reducing the grainy or speckled appearance that can occur in digital photographs, particularly those taken in low light or at high ISO settings. Most modern photo editing software includes noise reduction tools that help smooth unwanted image noise while preserving as much detail as possible.
Did you know? Applying too much noise reduction can make a photograph look soft or artificial, so it’s usually best to use it sparingly.
O is for Opacity
Opacity controls how transparent or solid a layer, brush or effect appears in a photograph. An opacity setting of 100% means the edit is fully visible, while 0% makes it completely transparent. Adjusting opacity is a simple way to create subtle, natural-looking edits without overpowering the original image.
Did you know? Many professional photo retouchers lower the opacity of an edit to blend it more naturally into the original photograph.
P is for Photoshop
Adobe Photoshop is widely regarded as the industry standard for professional photo editing and image retouching. Used by photographers, designers and digital artists around the world, it offers powerful tools for restoring old photographs, removing unwanted objects, enhancing portraits and creating complex image edits. Whether you’re a complete beginner or an experienced professional, Photoshop remains one of the most versatile and capable photo editing programs available.
Did you know? Photoshop was first released in 1990 and continues to set the benchmark for professional photo editing software.
Q is for Quick Selection Tool
The Quick Selection Tool is a Photoshop feature that helps you quickly select parts of an image by detecting differences in colour and texture. It’s commonly used for selecting people, objects or backgrounds before making adjustments or removing unwanted elements. While it’s a great starting point, professional photo retouchers often refine their selections afterwards for the most natural-looking results.
Did you know? Holding down the Alt (Windows) or Option (Mac) key allows you to remove areas from your selection just as easily as adding them.
R is for RAW Files
A RAW file is an unprocessed image captured directly by a digital camera. Unlike JPEG files, RAW images contain much more detail, giving photographers greater flexibility to adjust exposure, colour, white balance and shadows without reducing image quality. Because they preserve the maximum amount of image data, RAW files are the preferred choice for professional photographers and photo editors.
Did you know? RAW files are often described as a digital negative because they retain all the original image information captured by the camera.
S is for Sharpening
Sharpening enhances the appearance of detail in a photograph by increasing the contrast along edges, making images appear clearer and more defined. It can improve slightly soft photographs, but too much sharpening may introduce unwanted halos or make an image look unnatural.
Did you know? Sharpening can’t restore detail that wasn’t captured in the original photograph—it simply enhances what’s already there.
T is for TourBox
A TourBox is a custom editing controller designed to speed up photo editing by putting your favourite shortcuts, tools and adjustments at your fingertips. Instead of constantly reaching for keyboard shortcuts, you can zoom, brush, undo, adjust exposure or switch tools using programmable buttons, dials and wheels. Once configured, many photographers and professional photo retouchers find they can edit more efficiently while keeping one hand on the controller and the other on their graphics tablet or mouse.

Digital Touch Recommends
If you’re looking to speed up your editing workflow, the TourBox NEO is an excellent entry point into programmable editing controllers.
Why we like it:
✔ Fully customisable buttons and dials
✔ Works with Adobe Photoshop, Lightroom and many other creative applications
✔ Comfortable one-handed operation
✔ Helps speed up repetitive editing tasks
✔ Excellent value for photographers and photo retouchers
Whether you’re editing wedding photographs, restoring family memories or working on commercial projects, a programmable controller can help make your editing workflow faster and more enjoyable.
View the TourBox NEO and today’s latest price.
See also: Graphics Tablet • Adobe Photoshop • Lightroom • Keyboard Shortcuts • Workflow
U is for Unsharp Mask
Despite its confusing name, Unsharp Mask is a sharpening tool used to make photographs appear clearer and more detailed. It works by increasing the contrast along the edges of objects, giving the impression of a sharper image. Used carefully, Unsharp Mask can bring out fine detail, but applying too much can create unwanted halos and make a photograph look unnatural.
Did you know? The name “Unsharp Mask” comes from a traditional darkroom technique that was adapted for digital photo editing.
V is for Vlogging
Many photographers and photo editors are now sharing their work on YouTube, Instagram and TikTok. Whether you’re demonstrating Photoshop techniques, showcasing before-and-after restorations or building your photography business, good-quality video can make a huge difference. Fortunately, you don’t need an expensive camera to get started. Modern smartphones can produce excellent video when paired with the right accessories.

Digital Touch Recommends
If you’re thinking about creating photo editing tutorials or growing your online presence, the Movo iVlogger Vlogging Kit is an excellent starter package.
Why we like it:
✔ LED light for better lighting
✔ Directional microphone for clearer audio
✔ Adjustable tripod and phone mount
✔ Compact and easy to carry
✔ Ideal for YouTube, Instagram and TikTok creators
Whether you’re recording Photoshop tutorials, sharing restoration projects or documenting your photography adventures, a simple vlogging kit can dramatically improve the quality of your videos.
View the Movo iVlogger Kit and today’s latest price.
See also: YouTube • Photography • Content Creation • Social Media • Adobe Photoshop
W is for White Balance
White Balance adjusts the colour temperature of a photograph to ensure whites appear truly white and other colours look natural. An incorrect white balance can leave an image looking too warm (yellow/orange) or too cool (blue). Most photo editing software allows you to fine-tune white balance after a photograph has been taken, helping create more accurate and realistic colours.
Did you know? Photographers often shoot in RAW format because it allows white balance to be adjusted later without reducing image quality.
X is for XMP Files
An XMP (Extensible Metadata Platform) file stores photo editing instructions without altering the original image. Programs such as Adobe Lightroom and Adobe Camera Raw use XMP files to remember adjustments like exposure, white balance, cropping and colour corrections. Because the edits are saved separately, your original photograph always remains untouched.
Did you know? XMP files are often called sidecar files because they sit alongside your original RAW image rather than replacing it.
Y is for Yellow Cast
A yellow cast is an unwanted yellow or warm tint that affects the overall colour of a photograph. It can be caused by incorrect white balance, ageing prints, poor lighting or colour fading in old photographs. Most photo editing software allows a yellow cast to be corrected by adjusting the white balance or colour temperature, restoring more natural and accurate colours.
Did you know? Yellow casts are particularly common in old printed photographs that have faded over time, making colour correction an important part of the restoration process.
Z is for Zoom Tool
The Zoom Tool allows you to magnify or reduce the view of a photograph, making it easier to work on fine details without affecting the actual size or resolution of the image. Professional photo retouchers regularly zoom in when removing blemishes, restoring damaged photographs or making precise selections, before zooming back out to check the overall result.
Did you know? Most editing programs let you zoom using keyboard shortcuts or your mouse wheel, making detailed editing much quicker.