
Kids of today don’t realise they’re born. When DT’s team of image editing experts were knee-high to a grasshopper (and wrestling them for exclusive rights to local trees), computers only existed in the science fiction movies we watched at places our parents referred to as picture houses. And these computers were typically the size of small countries and were all called Hal. Although some were covered in lots of lights and keyboards and could strike chords with alien life forms from outter space.
Or ‘out of space’, as the Prodigy later christened it.
Although they weren’t actually all that good (rudimentary means of communicating with little green dudes that is; NOT the Prodigy, who were ace). Because ET had to rely on telekinetic powers to summon his mothership around this same time, if you recall.
But anyway. What we quickly established as would-be image editing experts of tomorrow, was that due to Photoshop not yet having being invented, was this. Should people mess up big time on their photo creation, then there wasn’t a lot that could be done about it. Basically you just had to live with the consequences of being a bit rubbish at taking photos.
How Future Image Editing Experts Removed Background Images in a Land Before Photoshop. ie, the Eighties
But that didn’t necesarily matter some four decades ago. As alternative wand tools had been designed to help us correct/fix other schoolboy/girl errors we’d accidentally made. What we like to fondly remember as the ‘Photoshop of our childhood’. Yet which in reality, was about as futureproof as CorelDraw. And primarily involved weird ink, putty rubbers and pairs of scissors. The sort of scenario which would make your average ‘Blue Peter’ presenter go full scale Tracy Island level berserk.
Beneath we’ve put on our rose-tinted spectacles (Top Gun-styley) and recalled the various methods, techniques, apps – or tools, as we used to refer to them as – and hacks that the next generation of image editing experts had at their/our disposal. Before Adobe was hatched. Providing the images we required editing weren’t that graphically advanced. Or visually impressive/in colour/created on shiny surfaces/manifest in a particular blue ink/were in any way pleasing on the eye.
Basically the options were starting from scratch, or starting from scratch. But as you know, practice is what makes us all perfect at our calling(s) in life. And image editing experts are no exception.
8 Ways to Remove Unwanted Objects, People or Backgrounds from Images in the 1980s
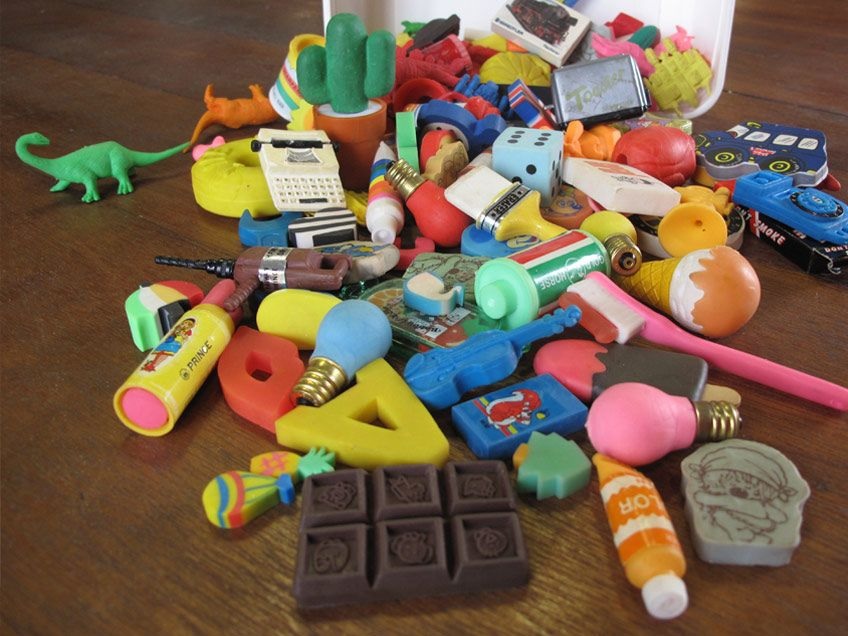
Eraser.
I know. Hardly cutting edge tech. But we’re talking about the early 1980s, remember. And ways of erasing part of an image you weren’t quite happy with were pretty limited. Hence the eraser being the ‘go to’ piece of kit you reached for once you’d realised you’d made a terrible mistake. And that the stripe across Adam Ant‘s nose was all to cock. This, and other big visual issues of the day were rectified within seconds. Courtesy of some robust wrist action and exhaling of cheeks to remove all circumstantial evidence. Plus rubbers were ace, as they came in all sorts of novelty shapes and smells.
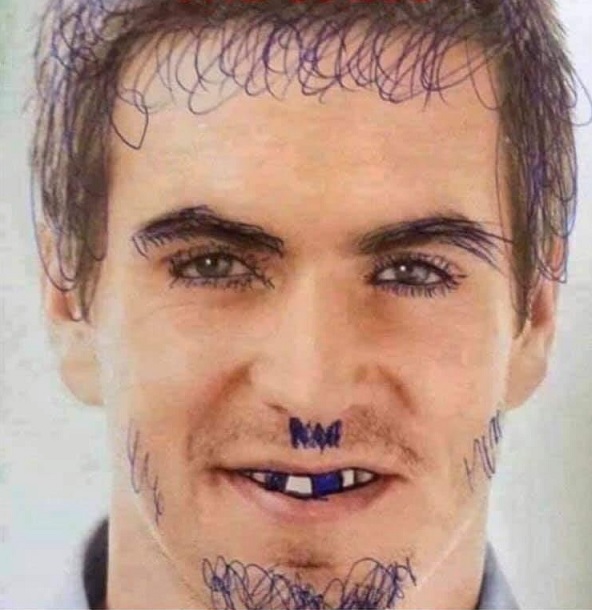
Scribbling Out.
Yup. Promising young photo retouchers didn’t just have erasers at our disposal back in the day, but we had ready access to any amount of biros too. So if you thought that A-ha would look way more macho with the addition of hipster beards (bear in mind the only folk sporting such facial foliage at this time were North Sea trawlermen, suspect-looking folk singers and drivers of Ford Capri‘s who’d let their ‘tache grow out), then a handily-placed biro would instantly transform your Smash Hits poster. You could even imagine Morten with two missing teeth. If you grew tired of looking at his otherwise picture perfect mug.
Tippex.
Now this stuff was black magic in a very small bottle which could transform a bad image before you could say; “I though that was called liquid paper??”
Which it was, incidentally. Forget all about black magic though, as this was the actual embodiment of practising white witchcraft. Simply shake the bottle, unscrew the cap and lo and behold you’d enter a different dimension. An arts n crafts universe. One which comprised of an in-built lid-brush combo which would literally (or rather, graphically) take your cares away. Like the Fraggles promised, yet rarely delivered on.
However Tippex did exactly what it said it did on the bottle. Eradicate ALL errors pre-404. By the swipe of a tiny brush head coated in this unmistakably potent white liquid which removed all traces of an area of any given image you’d ruined, thanks to your distinctly amateur artistic skills. Amazon would have been ALL OVER this concept, if we could reverse engineer image editing experts‘ histories.
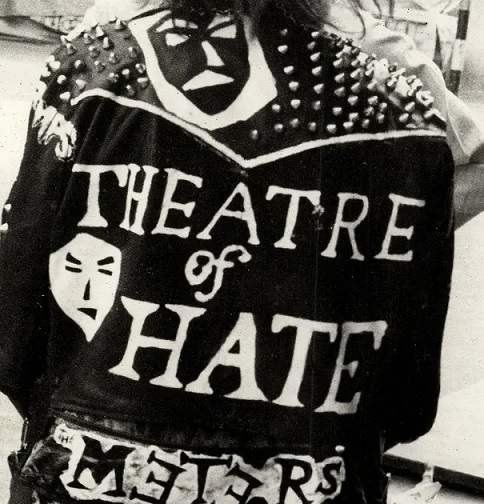
Scissors.
The darling of the ‘Blue Peter’ world, scissors experienced a huge renaissance in the 1980s. And were widely championed amongst would-be image editing experts of the future as the definitive way in which to fix a substandard compositonal piece. Scissors allowed almost anyone with a basic grasp of cutting out the non-technical platform to rectify a bad image. And reconfigure it, elsewhere. On another screen. Although we prefered to call screens ‘paper’ or ‘canvas’ back in our day.
A day when mice were still defined by four little legs, a twitchy nose, a long tail and a penchant for cheese. And apples were still green and fell from trees, with not a hint of black rollneck. The art was very much in the hands of the beholder, who would carefully craft an alternative vision of their envisaged/sketched/painted masterpiece. By way of cutting out and removing the background they’d ruined and replacing it with one they (hadn’t) made earlier.
More (Well, 8 in Total as You’re Aware) Tools/Tricks Budding Young Photo Retouchers Used to Edit Images At School in the 80s
Painting Over a Picture.
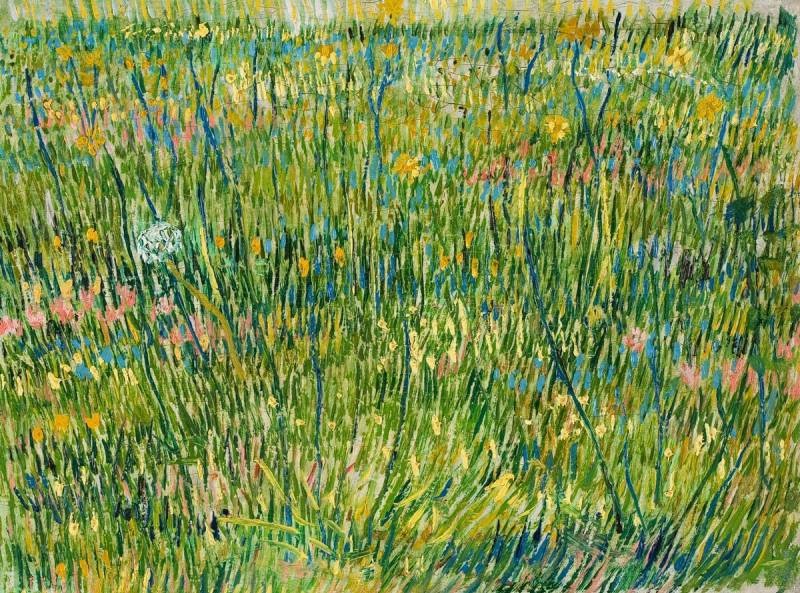
Listen, if this approach was good enough for Picasso and Van Gogh, then who were we to argue as up-and-coming image editing experts. Yup, if you happened to make a dog’s dinner out of your first (second or seventh) attempt at perfecting the likeness of your favourite pop star or movie idol back in yon day, then your best bet of getting away with it/pulling the wool over other people’s eyes, was to hastily daub some white paint over your entire failed masterpiece, and start over.
Once your one and a half coats of white emulsion had dried and you were good to go.
And while infra-red X-ray technology in recent years has paved the way for art historians to question/expose the poshumous cunning of the revered likes of Pablo and Vinnie, your secrets will remain safe for a very long time. Largely because nobody (not even our families) scrutinised their ‘talented’ offsprings’ early pieces to this extent. Or actually cared.

Ink Erasers.
Say what? As revolutionary at the time as garlic bread was to a famously speechless Peter Kay some years later, ink erasers were invented by a nation widely acknowledged for its sense of humour. A German manufacturer called Pelikan devised the original chemical-based ink eraser in the 1930s. Yet it was never really taken seriously, until 1972. When it was re-introduced to the German psyche as a novelty act, entitled ‘Tintentiger’. Which roughly translated means, ‘ink tiger’. Although it was eventually marketed as Tintinkiller; or ‘ink killer’.
Vanishing writing (or sketched images on paper, as was our thang) was seriously cool. Just as long as you wanted to eradicate part of – or a whole – royal blue inked image. As that’s because the one flaw in the ink erasing sphere was that it failed to work wonders on any other coloured ink. Blacks turned rust brown, while other variations on blues left a fair bit to be desired. As well as on the canvas you wished to turn blank again. Other than that, the premise was a straightforward one.
Rather than removing the ink from the page, it renders it invisible due to a chemical reaction. Specifically chemical ink erasers broke down the blue ink by disrupting the geometry of the dye molecules in the ink so that light was no longer filtered. The molecules were ‘disrupted’ (that very 2019 word) by sulfite – or hydroxide ions – binding to the central carbon atoms of the dye. Which rendered the ink invisible to the naked eye after application, as opposed to destroying its presence as such.

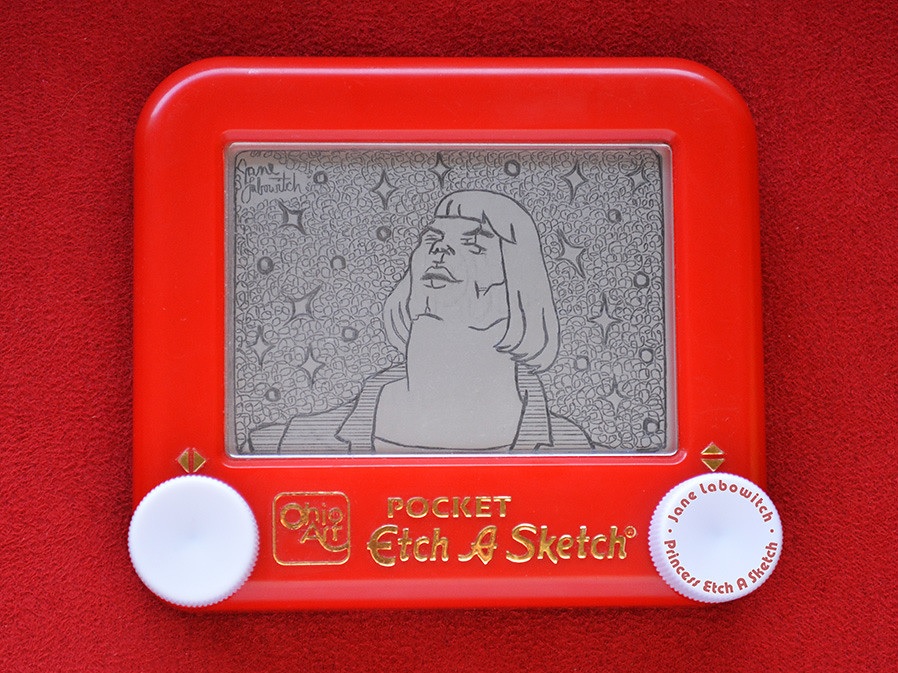
Etch-a-Sketch.
Yeah, now we’re talking. Time to wheel out the 80s image correction big guns. Etch-a-Sketch took our fledgling image editing experts promise shown as a kid to altogether new heights. And also afforded us a glimpse into our future picture manipulation endeavours and moreover, just what we could achieve. Providing of course, said images we wished to correct were angular. VERY angular. Unless that is you were a dab hand at Etch-a-Sketchery and could master the art of curves. Which if you could, would gain you instant hero status among your school friends. And a brief guest slot on ‘Wogan’ if you were very lucky/parents had media connections.
Fast Forward About NOW If You’re a Luddite and Proud
Anyway, here’s the tech bit as to how Etch-a-Sketch actually wove its on-screen magic. The inside of the surface of the glass screen was coated with aluminium powder, which was then removed via moveable stylus. Subsequently leaving a dark line on the light gray screen. In turn the stylus was controlled by two large dials positioned at either side of the screen, which the user/artist would fumble with simultaneously.
The concept being to make diagonal lines if you judged the degrees of tilt accurately enough. Then came the all-important image editing bit. Essentially you’d turn the unit upside down and vigorously shake it. Forcing the polystyrene beads within to ‘smooth out’ and re-coat the inside surface of the screen with the abovementioned aluminum powder.
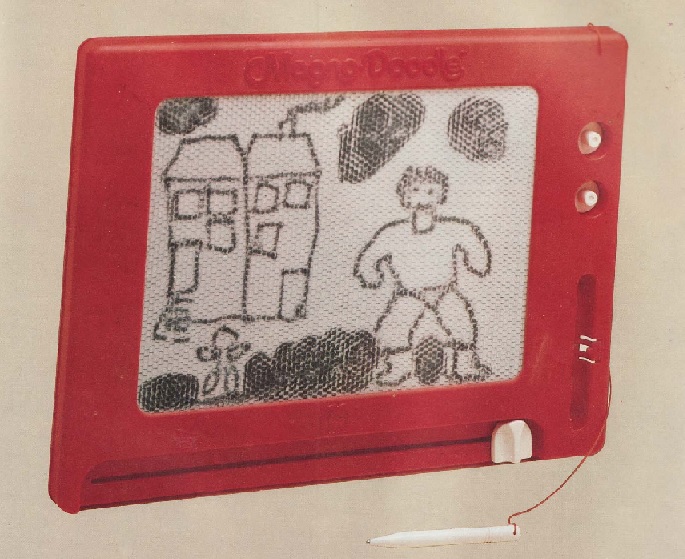
Magna Doodle.
Chances are, if you remember the Etch-a-Sketch then you won’t have the foggiest what the Magna Doodle was. As it was it’s closest (and only) rival to the childhood image editing crown in the 1980s. But wasn’t anywhere near as cool. Similarily described by its manufacturer as a ‘magnetic drawing toy’, the Magna Doodle also comprised of a drawing board and a magnetic stylus. However it also consisted of a few magnet shapes. The core element was the magnetophoretic display panel. Which was filled with a thick, opaque white liquid containing tiny dark magnetic particles. These particles could be drawn to the drawing surface by a magnet-tipped stylus (or optionally-provided shapes).
Ready For the Science-y bit? Of Course You Are….
Ok. So the middle layer was divided into a honeycomb of cells, keeping the liquid static and the particles evenly distributed across the panel. The liquid was formulated so that the floating particles could be pulled through it in response to the magnetic forces, but not due to gravity. Zzzzzz.
So, did your artistic prowess lead to a future career in the creative industries as ours did? And if so, what image editing practices did you perfect all those years ago? Tell us in the comments below…..
